Since I mentioned
in this post about a quick and easy favorite snack/cookie of mine, I thought I'd bring you along as I made it today.
Welcome to my childhood.
Or perhaps I should call them the "Welcome to Ladee's Childhood Cookies"
Or "Ladee's Favorite Cookies" because nothing's better than to have a cookie named after you!
First, the "Perfectly Chocolate" Chocolate Frosting recipe, right on the back of cocoa box:
I don't follow the mixing directions, but I'm pretty close.
Next, ingredients.
1. 1 stick of butter/margarine, softened
2. 2/3c Cocoa
Here's a little trick to try with your cocoa. I'm always getting cocoa dust on me or it spills too fast out of the container when I'm measuring with a larger measuring cup. If you only open a corner and tip it to disperse the cocoa, a little will come out at a time. If you want more, all you have to do is squeeze the container a bit and more will come out. Less dust, less mess!
3. 3c powdered sugar
I've had this Pampered Chef measuring cup for nine years. I wash it in the dishwasher at least once a week. It still works like a champ! There's a true product review for you. Their measuring spoons on the other hand only lasted a year, tops.
I have no idea why it didn't cross my mind to use it for the cocoa.
It is a little beat up and stained, but very loved. ;)
It can only measure two cups at a time.
Still need to measure out one more cup!
Putting that 3rd cup in!
4. 1/3 cup of milk
5. Hand mix until the ingredients are blended enough together so that when you use the hand mixer, all the powdered sugar and cocoa doesn't fling everywhere.
Not there yet.
There ya go!
6. Get your hand mixer and whip it on high, slowly circling the beater around the bowl and remembering to get the sides.
(You don't technically need a mixer, you can continue mixing by hand if you'd like.)
And yes, I only used one beater. Don't ask me why, I don't really know. I just use one beater when I make this frosting. I guess somewhere in my brain I am convinced that one beater on high will whip the frosting with less of a mess and with a better outcome than two beaters?
Oooooh, looks like the beginning credits of Willy Wonka and the Chocolate Factory.
I thought I was done and licked the beater when I noticed the frosting didn't taste right.
And then I remembered the vanilla!
So,
7. 1 tsp vanilla
Now the cap of the vanilla holds about 1/2 tsp of liquid.
So I used two capfuls.
I grabbed that second beater and whipped away.
Perfy.
8. Grab a Texas Rangers cup.
Ok, any large up, or bowl, will do.
9. Get a gallon sized bag and stick one of the bottom corners into the cup.
10. Spoon or dump the frosting into bag.
If there's any reason I go to the gym and work out my arms is so I can lift that heavy bowl long enough to get alllllll that frosting out carefully.
My love for these cookies runs deep.
11. Set aside frosting and clean up your mess because....
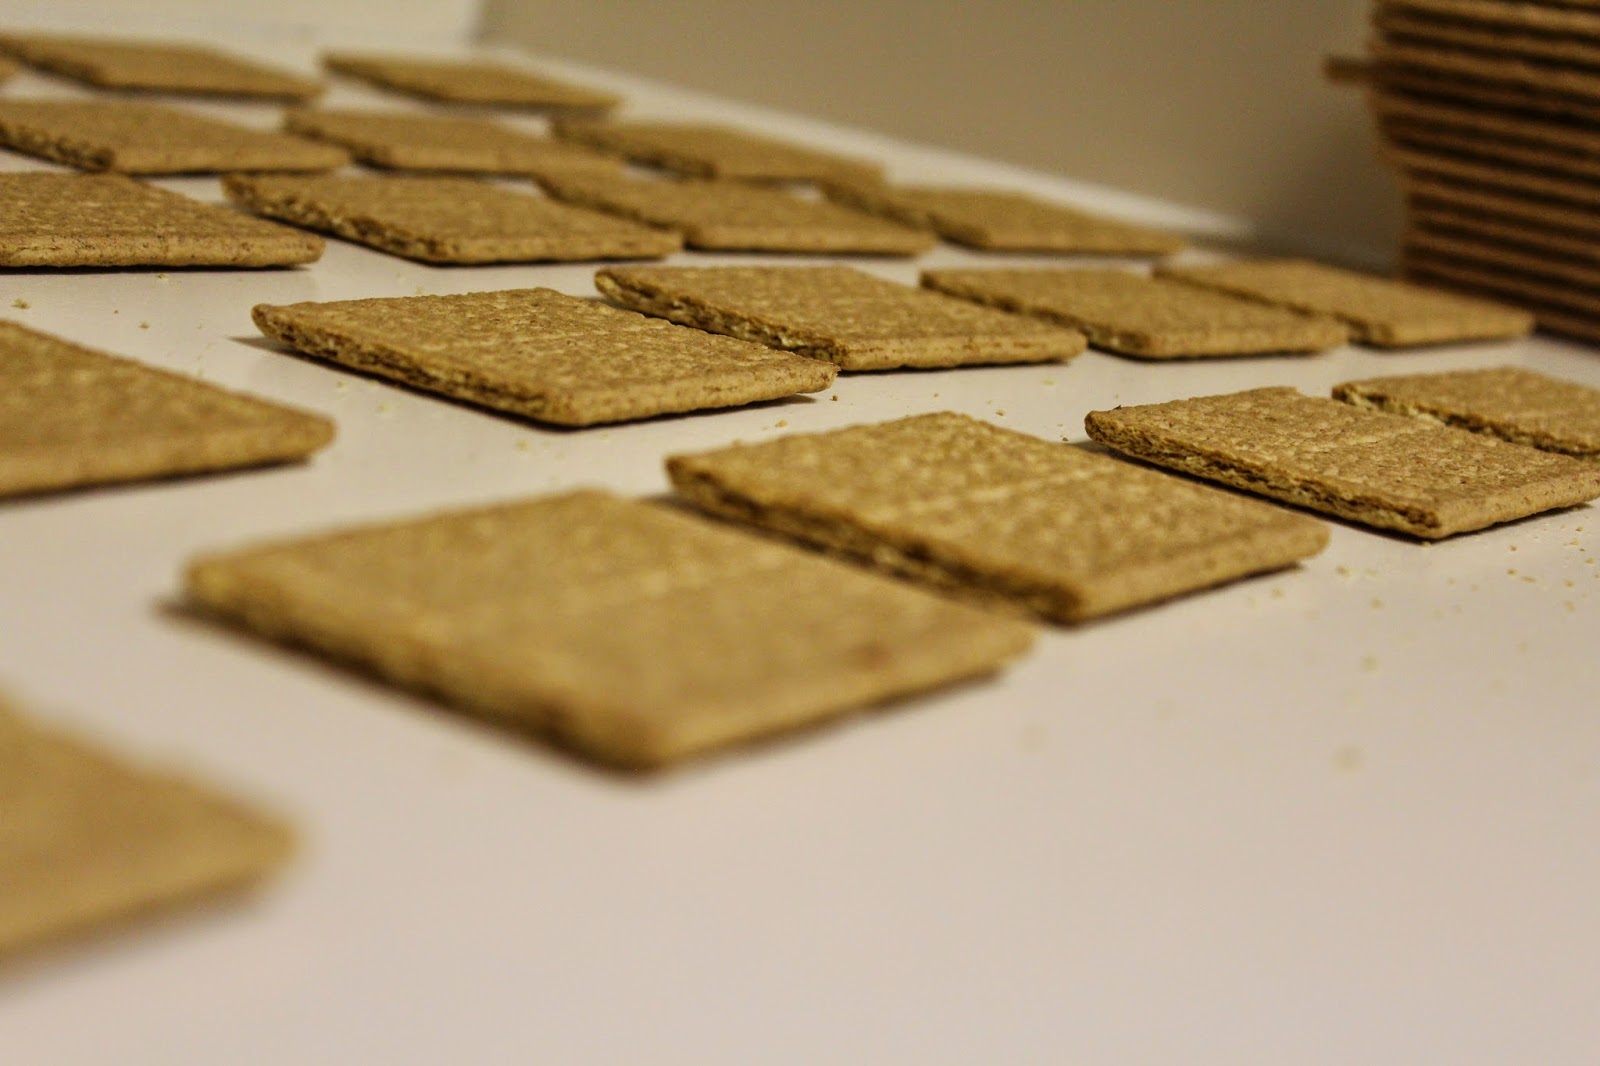
12...it's time to pull out the graham crackers.
13. Divide graham crackers into two piles.
14. Use the first pile and do this.
15. Now grab that frosting bag!
16. Twist the top so the frosting is airtight in the bag.
17. Clip that corner of the bag about a little more than a quarter inch.
18. And put a generous dollop of frosting on each graham cracker.
...until they're all done.
As you can tell, there's still enough frosting for three or four crackers.
Buuuut, since I didn't have any extra crackers and since I just hate to waste something...and since I didn't want to save it as it may go bad....
I ate it.
19. Now top the crackers using the ones from the second pile.
Quick note: place top cracker with perforations going in the same direction as bottom cracker. It makes it easier to eat!
BUT LOOK! I accidentally iced one extra cracker. So what did I do?
I made a double stuff.
And here you go! All done. And super easy. Honestly, the pictures make it look harder than it really is.
Let the crackers sit out without a cover. They taste best after day, IMO, but that doesn't stop me from eating them immediately and I won't judge if you do too!
Oh and 20. ENJOY.
P.S. These photos came straight out of my camera, with no photoshop effects. I know that some could use a little doctoring. But I knew that if I doctored one, I'd HAVE to doctor them all! And ain't nobody got time for dat!